
Accruals track and recognize earned benefits such as vacation time, sick time and other types of time off. This guide explains how to set them up and how to double-check the result.
Find the accrual settings
- Go to Time Off Settings and open the time off type.
- Activate accrual calculations by ticking the Calculate accruals checkbox.
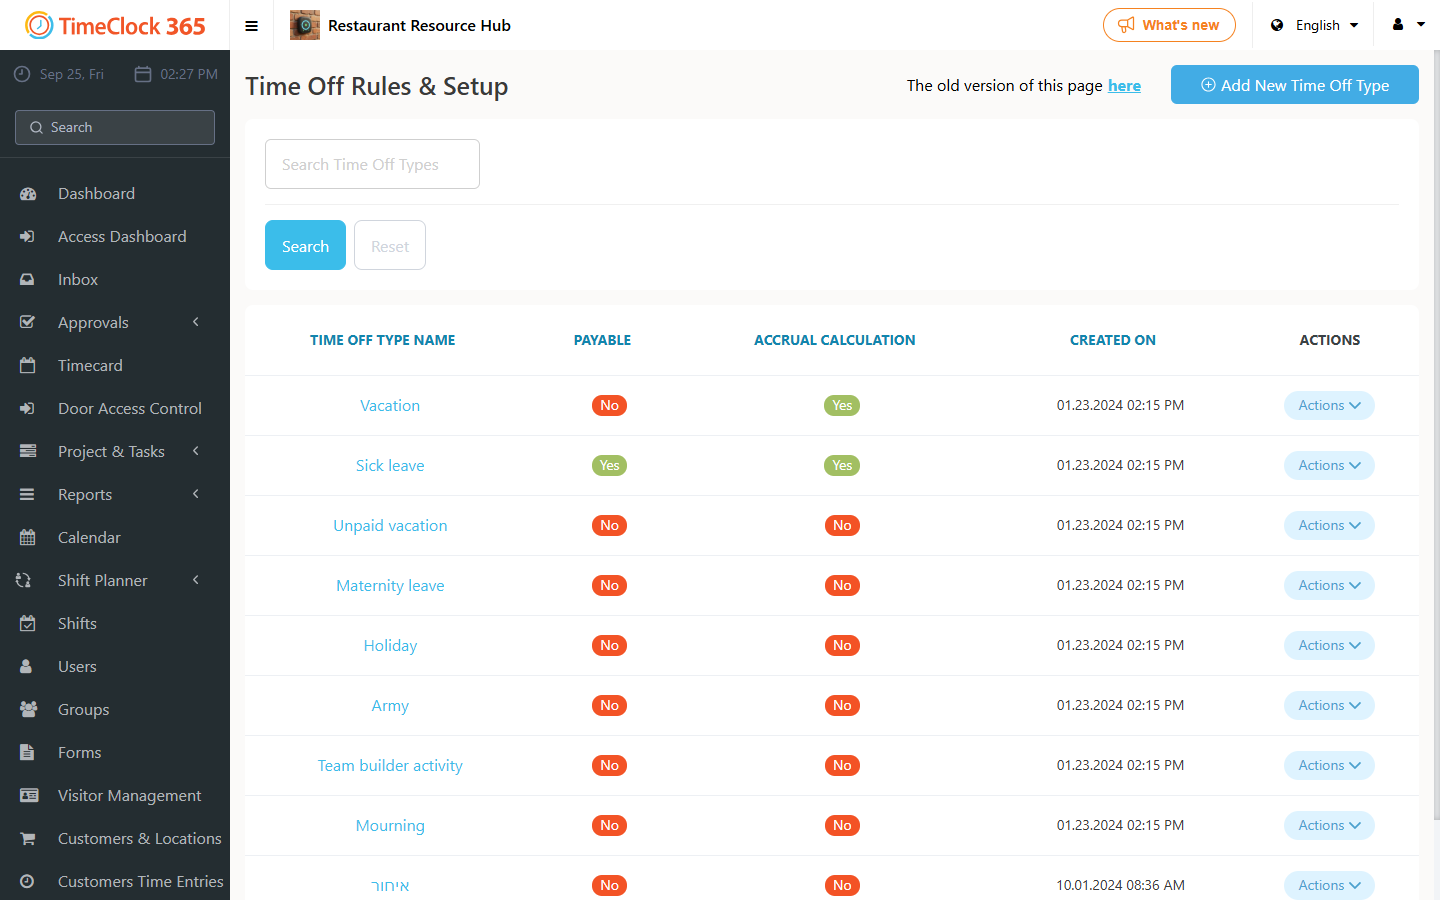
Settings
- Negative units limit: tracks days in excess of the limit. With an allowed negative units limit of 0, employees cannot go below 0 in their balance when requesting this time off type. With a limit of 5, employees can go into the negative, but not below -5, so they can take at most 5 extra days.
- Accrual lifetime: the period after which accumulated but unused days are burned (lapse). With an accrual lifetime of 1, monthly accruals build up over the year. For example, 1.5 days per month gives 1.5 x 12 = 18 days on Dec 31, 2023 (accruals are added at the end of every month), and these 18 days lapse on Jan 1, 2024.
- Maximum allowed accrual: the maximum number of accumulated days at any moment.
- Maximum yearly allowed accrual: the maximum number of accumulated days per year.
- Accrual mode: monthly or yearly calculation.
- Accrual schedule: the basic accrual rate.
- Calculate balance in: days or hours.
- Tenure Bonus: a bonus for the period of work for the company, based on the employment start date in the user card.
Accrual schedule setup
Accrual schedule = expected number of accrual days / number of months (for example, 12).
Example:
- Mode: monthly
- Accrual lifetime: 1 year
- Allowed negative units limit: 0
See the details and calculations
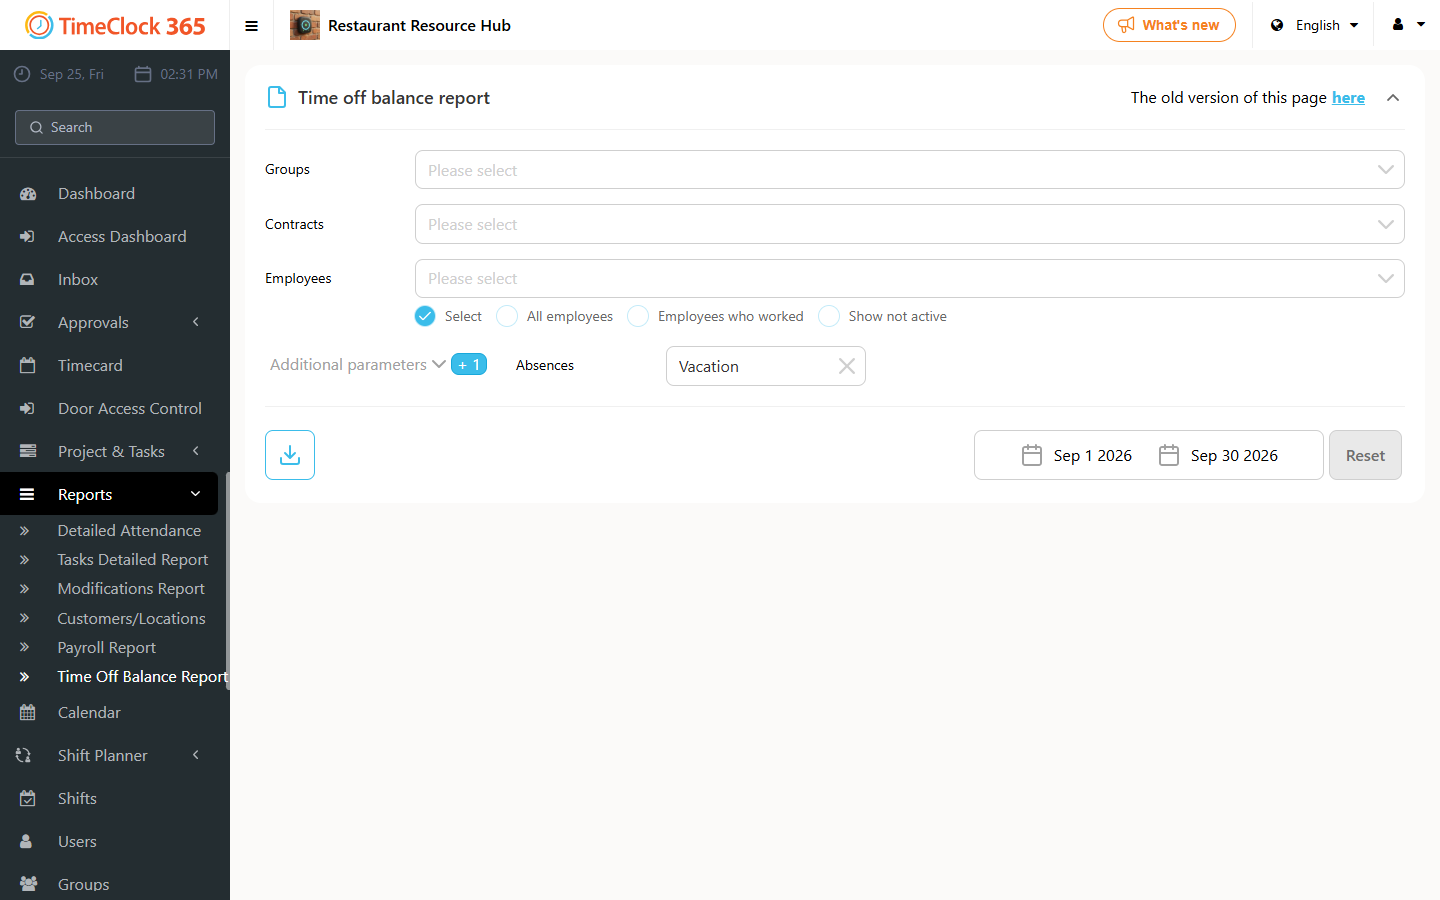
- Go to Reports > Time Off Balance report.
- Select the relevant filters and a time off type, then choose a download option from the dropdown.
Important: a time off type appears on the Time Off Balance report only if its accruals box is checked.
How to double-check the setup
- Go to Users, choose a user and set the Employment start date so that the period you need to check is covered (15+ years in this example).
- Go to Reports and choose the Time off balance report.
- Choose the same employee, uncheck Specify period, and set the start and end dates.
- From the Absences dropdown, choose the type you are working on.
- From the Download dropdown, choose the full time off balance.
In the downloaded file you can see how accruals are added or lapse monthly and yearly, and how they change depending on time off requests.