
If you are paid a global salary and do not need to record your hours, this guide shows a quick way to approve your report.
Note: the Auto fill permission must be enabled. If it is not, ask your system admin to add it to your role.
Quick approval
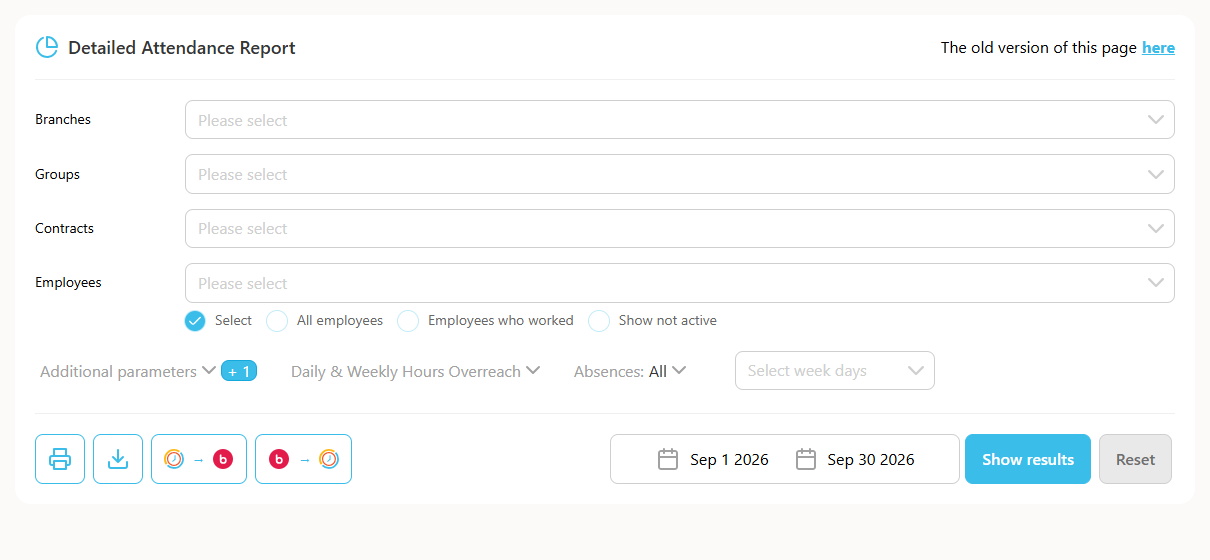
- Log in to your TimeClock 365 account, click the Detailed Attendance shortcut, choose the period you want to approve and click Show.
- Click Auto-fill report to automatically populate your workdays. Fill in any days of absence as needed.
- Click I approve this report.
Common problems with timesheet approval
- To correct an entry, for example to turn an absence day into a workday or the other way around, click the X to delete that entry.
- After you approve your report it is locked for changes. If you need to change it, ask your manager to decline the approval to unlock it.
- For a half or partial day off: click the date, then in the pop-up window click +Add another event, enter your work attendance hours, enter your absence hours, select the absence event and save.
Note: even if your actual work hours do not matter in this case, you must still enter both attendance and absence hours, or you will get an error message.