
This guide explains how to approve the Detailed Attendance report, for both employees and managers.
Step 1: Review the attendance records
- Go to "Reports" -> "Detailed Attendance", choose the period, and click "Show Reports".
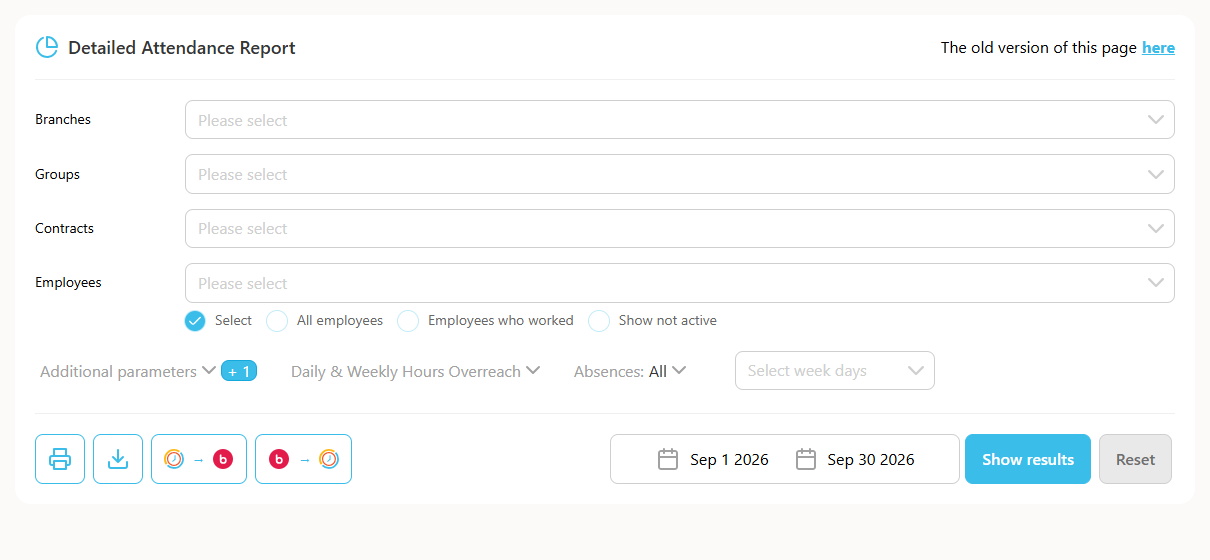
Note: managers can review the reports of all their employees, one after another, if they don't select a specific name in the "Employee" field.
You'll now see all attendance records for the period you chose. Go through them to make sure everything is correct, fill in any missing absence days, and correct entries if needed (if you don't have permission to make corrections, contact your manager). Once there are no red rows left, a green button to approve the report appears at the bottom.
Note: if you are an hourly employee without fixed workdays, it's fine to have red rows. If you still can't approve the report, contact your manager and share this guide so your account can be configured correctly. If you need to report a partial absence day, see the related guide on that topic.
Step 2: Approval by the employee
Once all standard days are filled in and there are no more red rows, the "I approve this report" button becomes available on the left, at the bottom of the report in the summary area.
Clicking the button opens a popup asking whether to approve and lock the report against further changes. Clicking Confirm approves and locks the report, and it then moves on for manager approval.
If changes are needed after the report has been approved, contact your manager to reject the report. If the manager has already approved it, see the related guide on how to reject an approved report.
Step 3: Approval by managers
Managers: go to "Reports" -> "Detailed Attendance", choose the period, and click "View".
You can also approve or reject reports from the Approvals - Reports section.
This opens the reports of all your employees so you can approve them one after another. Review the reports to make sure everything is correct, then you can:
- Click "I approve this report" to give final approval.
- Click "Reject Employee Approval" if changes to the attendance are needed.
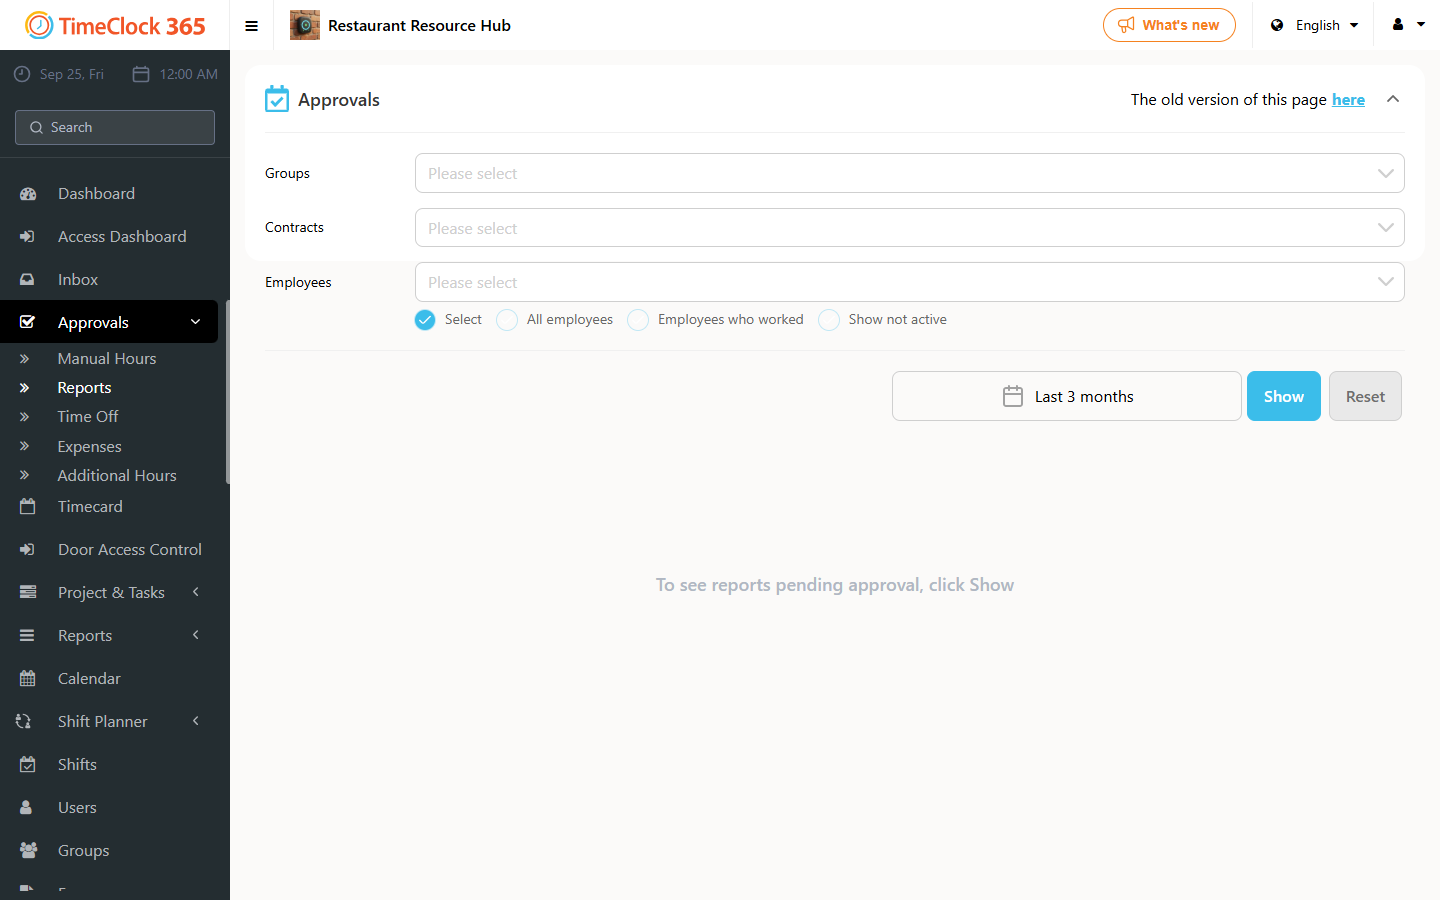
Step 4: Exporting the report to payroll
This step is for a user set up as an administrator or a manager with access to all users.
- Go to "Reports" -> "Detailed Attendance", check "All Employees", choose the period, and under additional filters select "Show reports not approved by employee", then click "Show Reports".
If there are reports not approved by employees, this will show those employees so you can ask them to approve before exporting the report. The same applies to reports not approved by managers.
Once all reports are approved, you can export the report by clicking "Print" or "Download" and exporting in the format you need. For exporting to a payroll system, see the related guide on that topic.