
This guide explains how to set up and manage holiday calendars in TimeClock 365 so that attendance reports reflect holidays correctly. You can define several calendars and link each one to the relevant contract.
Notes:
- Israeli national and Jewish holidays are already configured automatically. Make sure your system time zone is set to Jerusalem - see the guide for changing the time zone.
- This add-on requires a paid subscription. You can purchase it from within the system - see the guide for purchasing products.
Step 1: Create the calendar
First, set up the calendar itself. Go to Settings -> Holiday Policy -> Create Site Policy.
Type the name you want to give the calendar you are defining, then click Add Rule to Policy.
Enter the following details:
- Holiday name.
- Whether the date is a one-time date or repeats every year.
- The date of the holiday.
- Type - holiday eve, holiday, or regular day (in step 2 you will define the standard hours and how absence is calculated for each option).
To add another holiday, click Add Rule to Policy again. When you are done defining all the holidays, click Save.
Step 2: Link the calendar to a work agreement
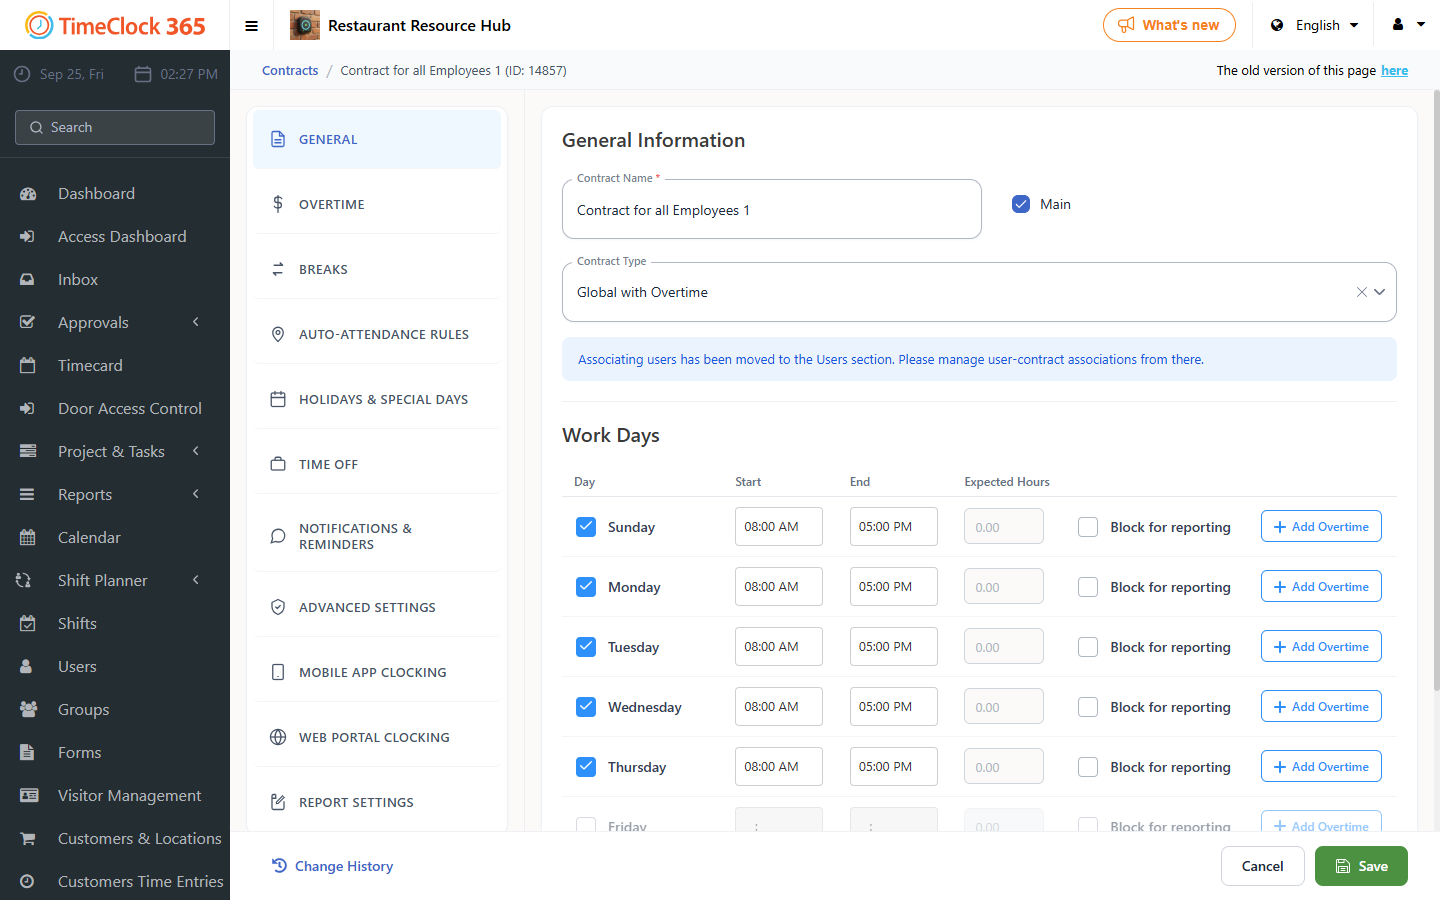
Now link the calendar to a contract and define the standard hours you want for those days. Go to Settings -> Contracts -> click the contract you want to set the calendar on.
Under "Select National Holidays" choose the calendar you want for that contract.
Scroll down and open each of the options - holiday eve and holiday - and define the standard hours for those days and how absence is calculated on them.
Notes:
- If employees are not expected to work on those days, leave the standard hours empty.
- For employees to be able to report an absence on those days, standard hours must be defined.
When done, click Save.
You can now go to the Detailed Attendance report and see the holiday markings on the relevant dates.