
As an Administrator, you define how expenses are categorized, who approves them, and how they feed into your company's financial reporting. A proper setup keeps your audit-ready reports accurate and easy for the accounting team to process.
1. Set up expense categories
Categories help you track where company money is spent. Create categories that match your accounting chart of accounts.
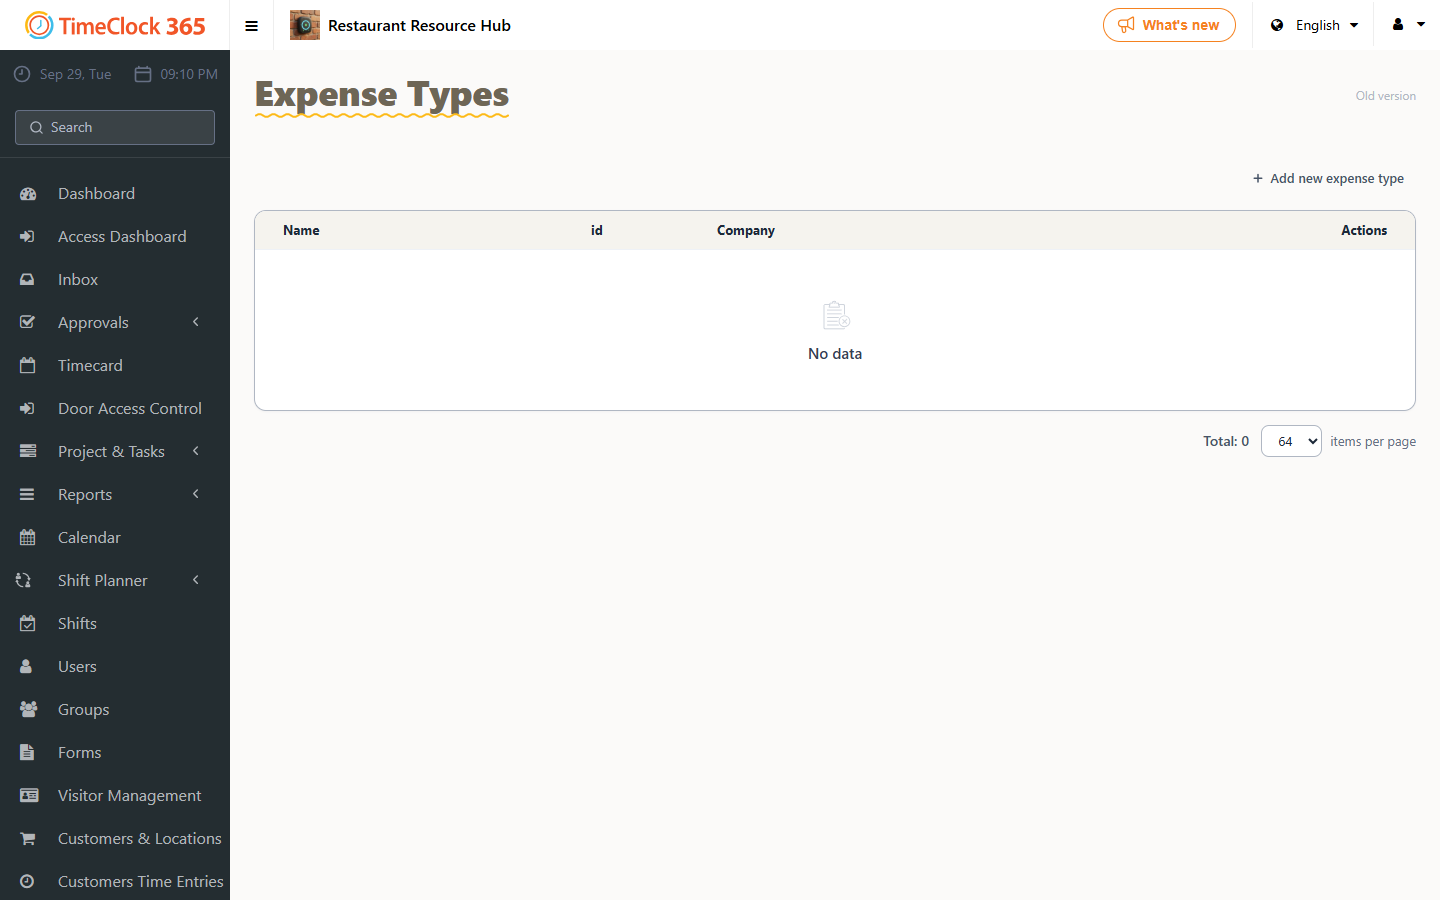
- Go to Settings > Add-ons > Expense Manager.
- Click + Add New Category.
- Enter a name (for example, Client Hospitality, Mileage/Fuel, Software Subscriptions).
- Optional: if you use accounting software such as QuickBooks or Xero, enter the General Ledger (GL) code as the external code for seamless data import.
- Click Update.
2. Define approval workflows
You decide who can approve or decline an expense.
- Direct Manager Approval: by default, expenses are routed to the employee's direct manager (as defined in the employee profile).
- Secondary Review (Finance): you can enable a Finance Review step where, after a manager approves, a final user (such as an HR or Finance lead) gives the final Reimbursed status.
- Notification settings: make sure Expense Alerts is switched on under reminders and alerts, so managers get an email or push notification when a new request is submitted.
3. Currency and limit settings
If your team travels internationally, you can manage how currencies are handled.
- Default Currency: set your home currency (for example, USD, EUR, GBP).
- Employee Limits (optional): set a Max Limit per submission. If an employee submits an expense over $500, for example, the system can trigger a warning or require a higher level of authorization.
4. Payroll integration logic
To make sure employees are paid back, the Expense Manager must be connected to your payroll reports.
- In the Expense settings, switch on Include in Payroll Export.
- Only expenses marked as Approved are pulled into the periodical reports.
- Choose whether expenses appear as a separate line item in the attendance report or as a total Reimbursement sum at the bottom.
5. Manage attachment storage
All receipts are stored in the TimeClock 365 cloud.
- Audit trail: every expense has a history log showing when it was submitted, who approved it and when the status changed.
- Batch download: for tax season, go to Reports > Expense Summary and download all receipt images for a specific month in a single .zip file.