
As a manager, your role is to make sure submitted expenses are legitimate, accurately categorized and backed by a valid receipt. Your approval is the final trigger that allows these costs to be sent to Finance/Payroll for reimbursement.
Access pending requests
When a team member submits an expense, you receive a notification. You can review requests in two ways:
- Mobile app: open the menu and tap Expense Approvals. Useful for quick approvals on the go.
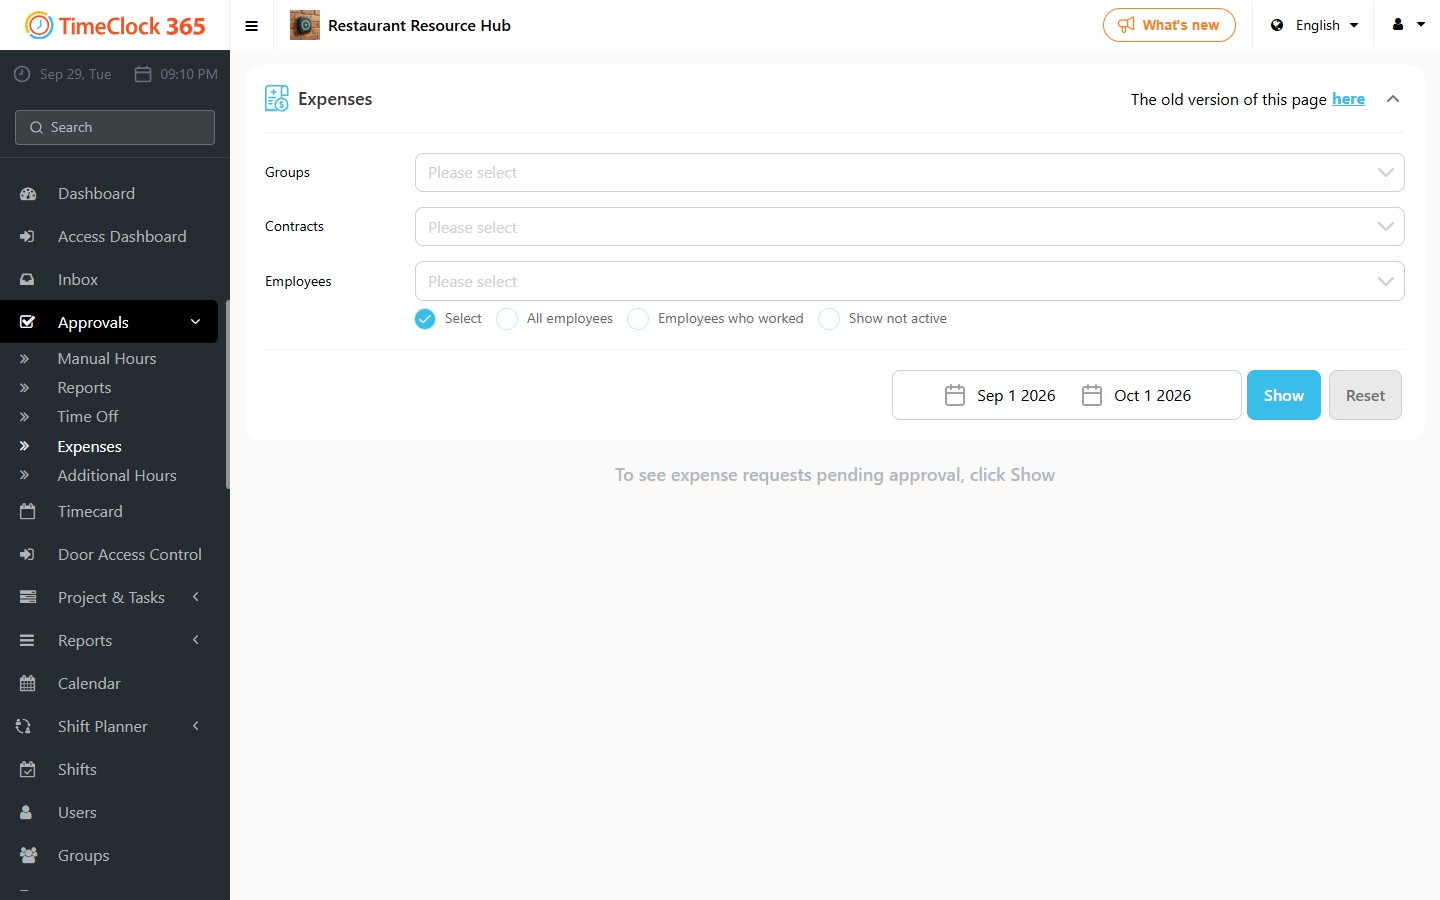
- Web: go to Approvals > Expenses and filter the status to Pending.
Review checklist
Before approving, perform these three checks:
- Receipt verification: click the attachment icon to view the receipt. Does the amount entered match the receipt? Is the date correct?
- Category accuracy: make sure the employee selected the correct category (for example, that a personal meal was not labeled as office supplies).
- Project allocation: if your team works on client projects, verify that the expense is linked to the correct project for accurate billing.
Take action
- Approve: the expense is verified. It moves to the Approved list and is queued for the next payroll cycle.
- Decline: use this if the expense is not business-related or is a duplicate. Always provide a reason in the comments box.
- Request info / send back: if the receipt image is blurry or information is missing, add a comment such as "Please upload a clearer photo of the receipt" and leave it pending. The employee sees your comment in their app.
Manager reports
To stay within your department's budget, you can generate summaries:
- Monthly team summary: the total spend per category for your entire team.
- Project costing: how much extra cost was added to a specific project beyond the hours worked.