
Learn how to add a new employee to the system, and how to remove an existing one.
Creating a new employee
Step 1 - License count
- Click Licenses & Billing, then click "My Subscriptions", and make sure a free license is available to assign - in other words, that the number of licenses purchased under that subscription is greater than the number currently in use.
- If more licenses are needed, increase the quantity and click "Update quantities" (this also updates the monthly billing accordingly).
Step 2 - Adding a new user
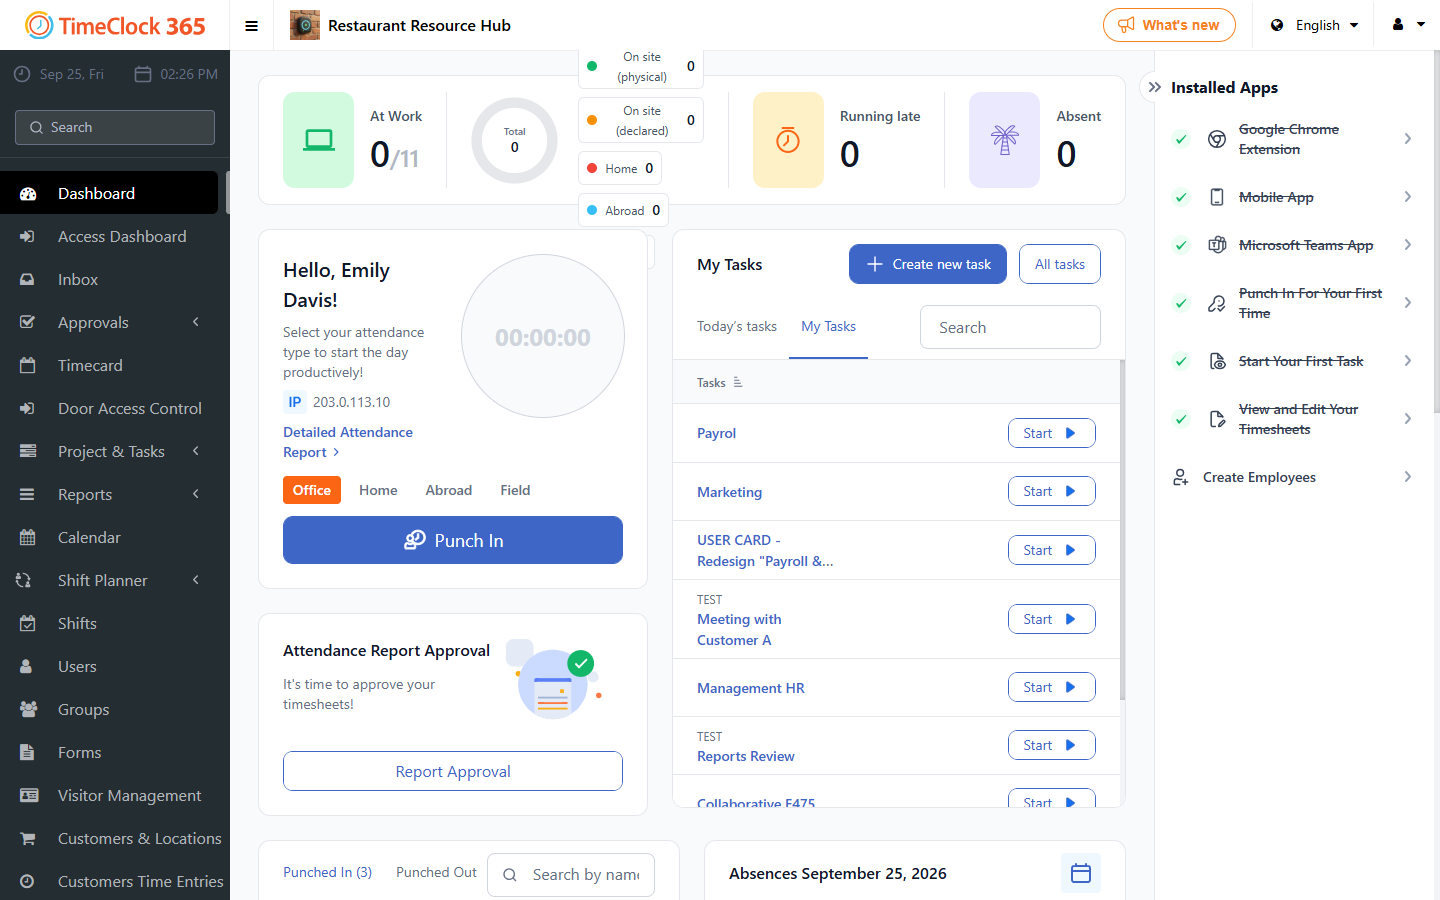
From the main Dashboard screen, click "Create new employee".
The following fields are required - the system will not let you save the user without them:
- Full name
- Email address (if the employee has none, you can simply copy their name into this field)
- License type
- Status: set to Active
- Permission level: Employee (no editing ability), Employee Editor (with editing ability), Group Manager (a separate guide explains setting up a group manager), Administrator (system admin)
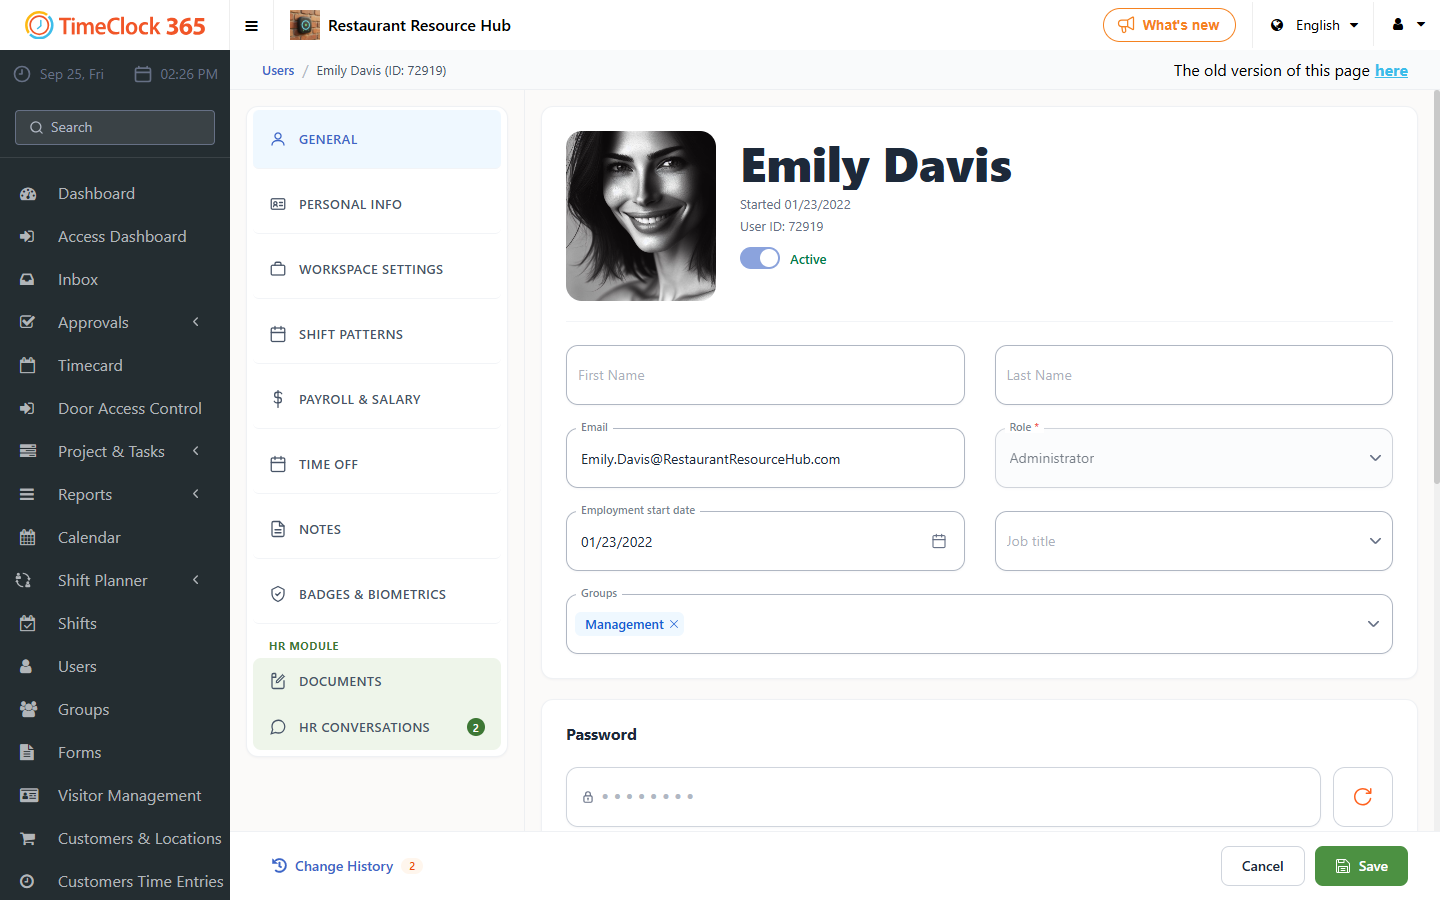
Additional settings
- Under "Work Agreement", choose the work agreement (contract).
- Under "Contact Details", assign the employee to the relevant group, especially if there is an attendance clock group or an Innovation Authority employee group.
- You can restrict the employee to clocking in only through the app, only through the web, or only through the time clock (by unchecking both options).
- It is recommended to check "Send password to employee's email" so they receive the link and login details by email.
If the employee is in a different time zone, or their language differs from the rest of the company, this can be set under "Contact Details". If the employee has a tag, you can record the tag number under "Biometric Terminal / Access Controller" so it is recognized by the terminal or controller.
Premium subscription only: if the employee is tracked through the mobile app, activate this by clicking "Employee Tracking" and checking "Enable tracking...". You also need to choose how often the location is retrieved, in the "Location update frequency" field - for example every 5 minutes.
Removing an existing employee
In TimeClock 365, an employee cannot be deleted from the system. To remove them, mark them as "Inactive" and release their license.
- Go to Users, select the employee.
- Click the button below their name to switch them to "Inactive" status.
- Under "Licenses", check "Do not assign license".
- Under "Payroll Details", enter the end-of-work date.
- Click Save when done.
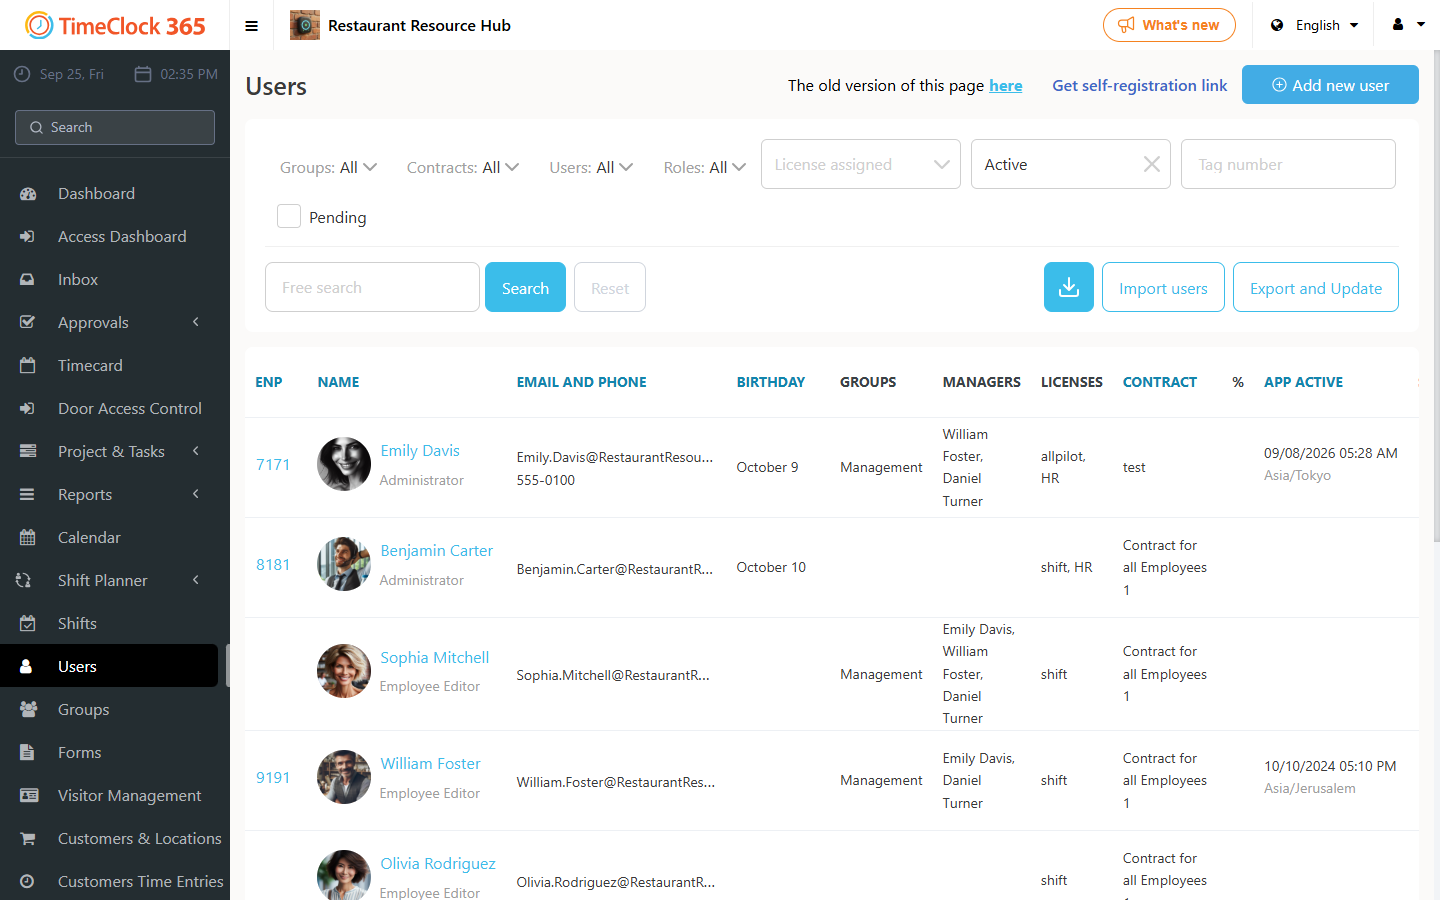
Note: if the departing employee's email address will be reused in the future, change it on this profile (for example add a "1" at the end of the address).
To reduce the number of licenses, click Licenses & Billing, then "My Subscriptions", and reduce the license quantity accordingly.
Viewing inactive employees and their licenses
- Go to Users and click Filters in the upper right.
- In the "Active" filter select "No" and click Search.
- You will see the inactive employees, and if one still has a license you can unassign it.