
This guide explains how to configure overtime rates in TimeClock 365.
- Go to Settings -> Contract and choose the relevant contract you want to configure (each contract is configured separately).
- In the "Work Days" table, click the "+ Add" button on the left.
- In the first box, enter the number of overtime hours after the regular standard hours, based on the defined start and end times.
- In the second box, set the payment rate as a percentage. For example, a 25% premium would be entered as "125".
- You can add more overtime tiers at different rates for the same day by clicking "+ Add" again.
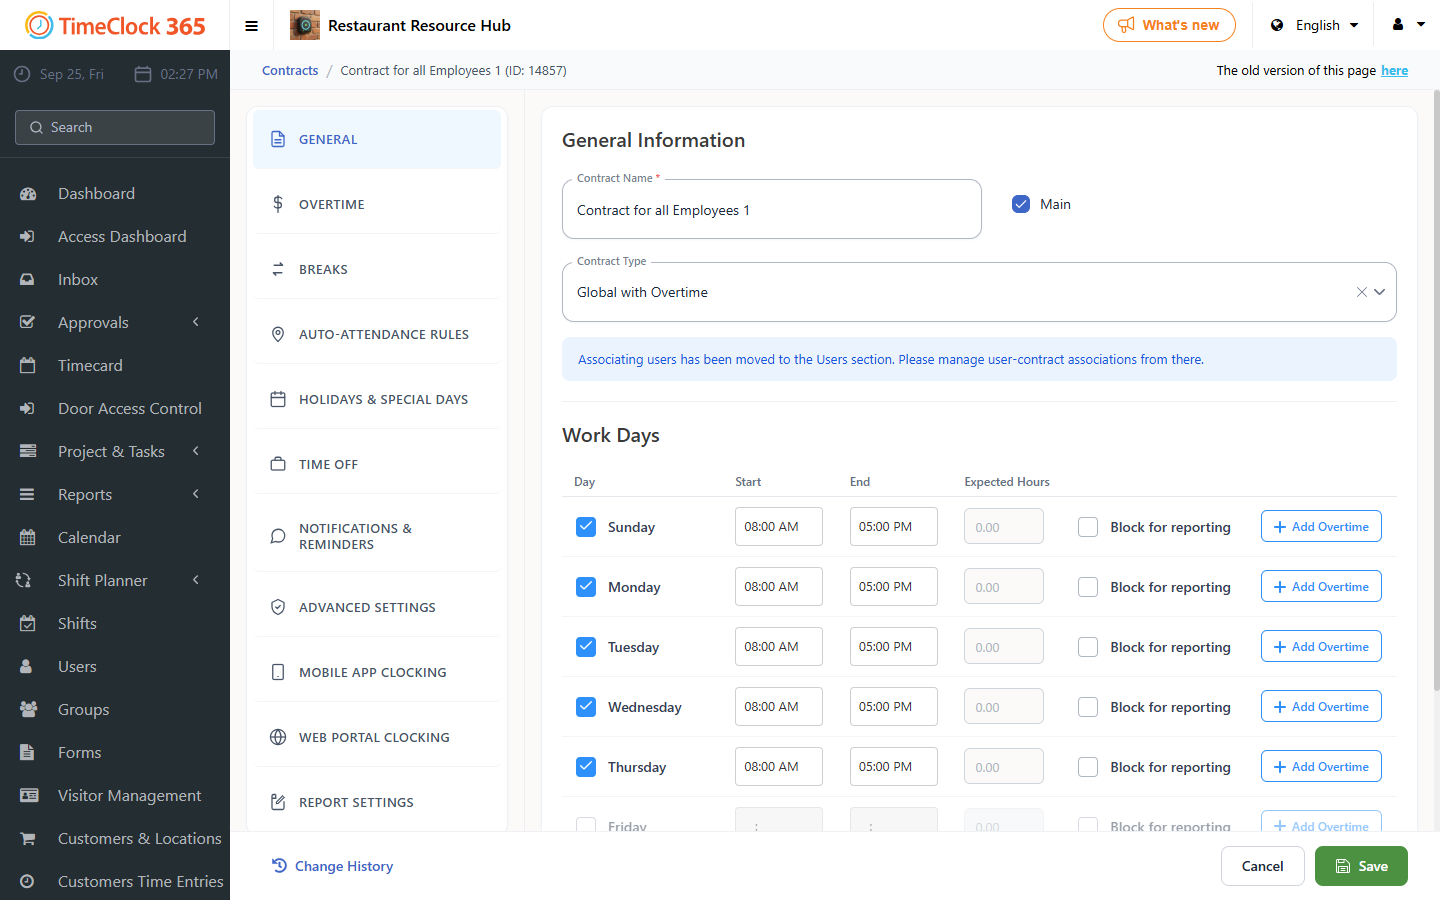
Tip: fully fill in Sunday (standard hours and overtime hours) and click "Copy to Next Day" to copy this structure to the following day, and so on.
Note: the overtime rates you configure apply only to employees on this contract. If you see a report with different rules applied, check which contract that employee is assigned to.
In this example there are 8 standard hours, followed by two overtime hours at a 125% rate, and after that another 4 hours at a 150% rate. This is how it appears in the Detailed Attendance report.
Weekly overtime
You can also set overtime at the weekly level, meaning overtime is calculated once employees exceed their weekly hour quota. For example, 42 regular hours, followed by the next 10 hours at a 125% rate.
These hours are added to the report on the last day of the week. If both daily and weekly overtime are configured, only the weekly overtime is added on the last day of the week - so it's best to use either the daily or the weekly level, not both. This is how it appears in the Detailed Attendance report.