
This guide explains how to import users into the system from an Excel file. First you download a template file, fill in the user details, and then upload it to the system.
- Click "Users" -> click "Import users" at the top.
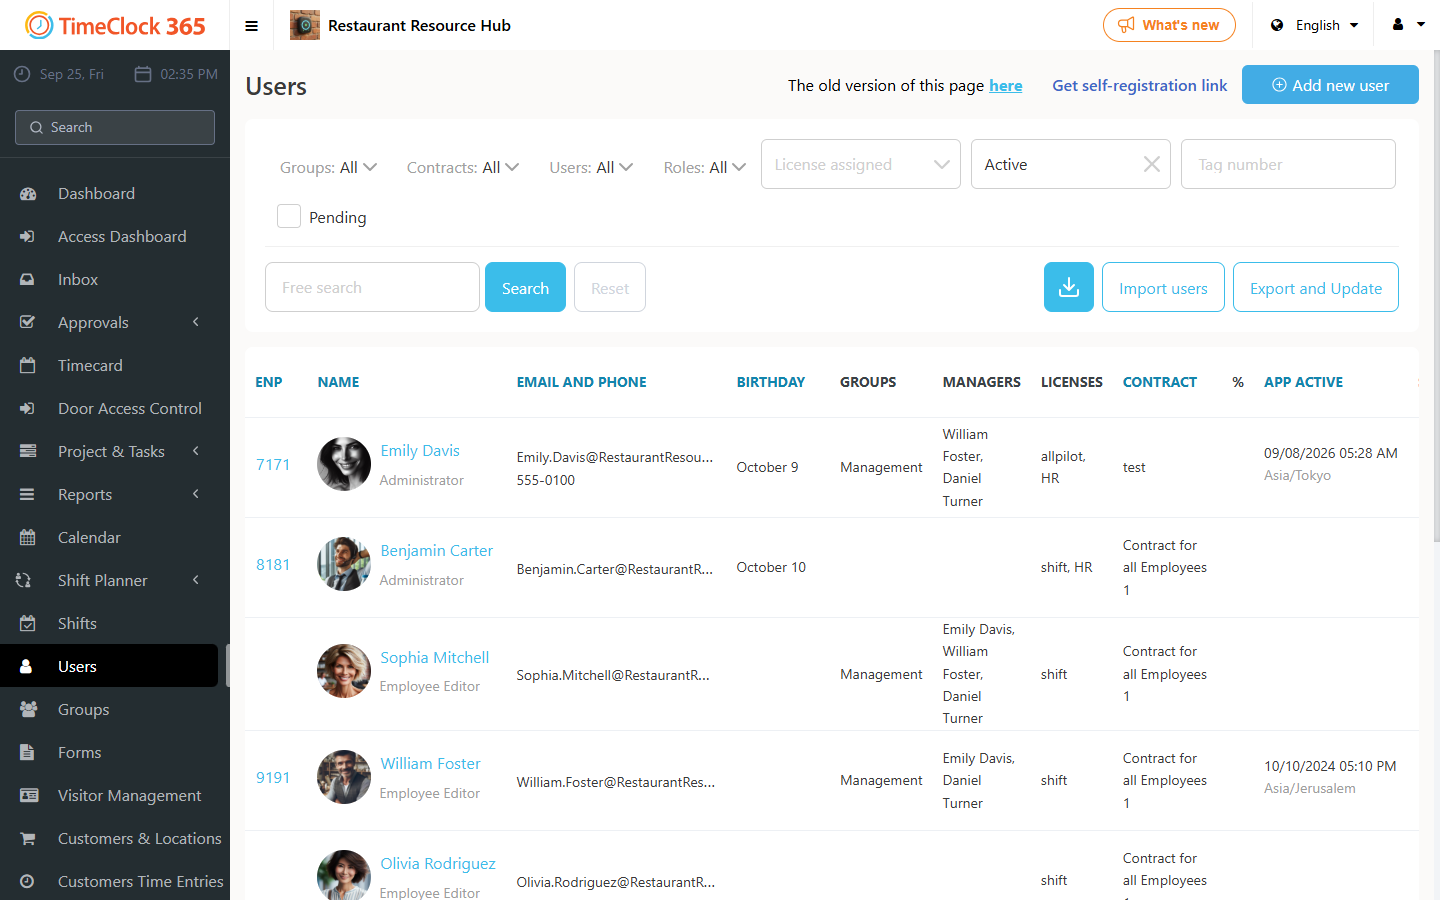
There are 2 import file templates you can download: a basic version with only names and emails, and an extended version with more details.
Field reference
- Invite via email - whether to send a password during setup. Enter 1 if you want a password sent, or 0 if you do not want a password sent to the user's email.
- Subscription id - each subscription/license type has an ID. Enter the ID for the subscription you want for that user: 2 - Basic | 3 - Standard | 4 - Professional | 5 - Premium.
- Group ids - you can open the relevant group and copy the numbers from that group's link to associate the user with it. The numbers represent the group's ID in the system. You can list several groups separated by commas. For example, from a link such as .../admin/groups/1063/edit, take the ID: 1063.
- Role id - you can go to Settings -> Roles Management, open the relevant role, and copy the ID number that appears at the end of that role's link into the file. For example, from a link such as .../admin/roles/3455/edit, take the ID: 3455.
After filling in the file and saving it in UTF-8 format, fill in the relevant fields in the system:
- COMPANY - select the company.
- SUBSCRIPTION - select the subscription type for the users you are uploading.
- SECURITY SETTINGS - select the permission you want the users to have.
Then upload the file in UTF-8 format. Once the file is uploaded, a window will pop up letting you download the usernames and passwords that were imported into the system.
Filling in the template
- First and last name, Email - mandatory.
- Mobile phone, full address and city, work start date, date of birth, gender - optional.
- Employee number - for payroll tracking.
- Role ID, hourly rate and other optional fields - fill in as needed.
- When listing several group IDs, separate them with commas and make sure the cells are in Text format (right-click the cell -> Format cells -> Text).
Troubleshooting
- Make sure the file is saved in the correct format (UTF-8).
- Check that all required fields, such as name and email, are filled in.
- After the import, open Users to check that the new users were created.