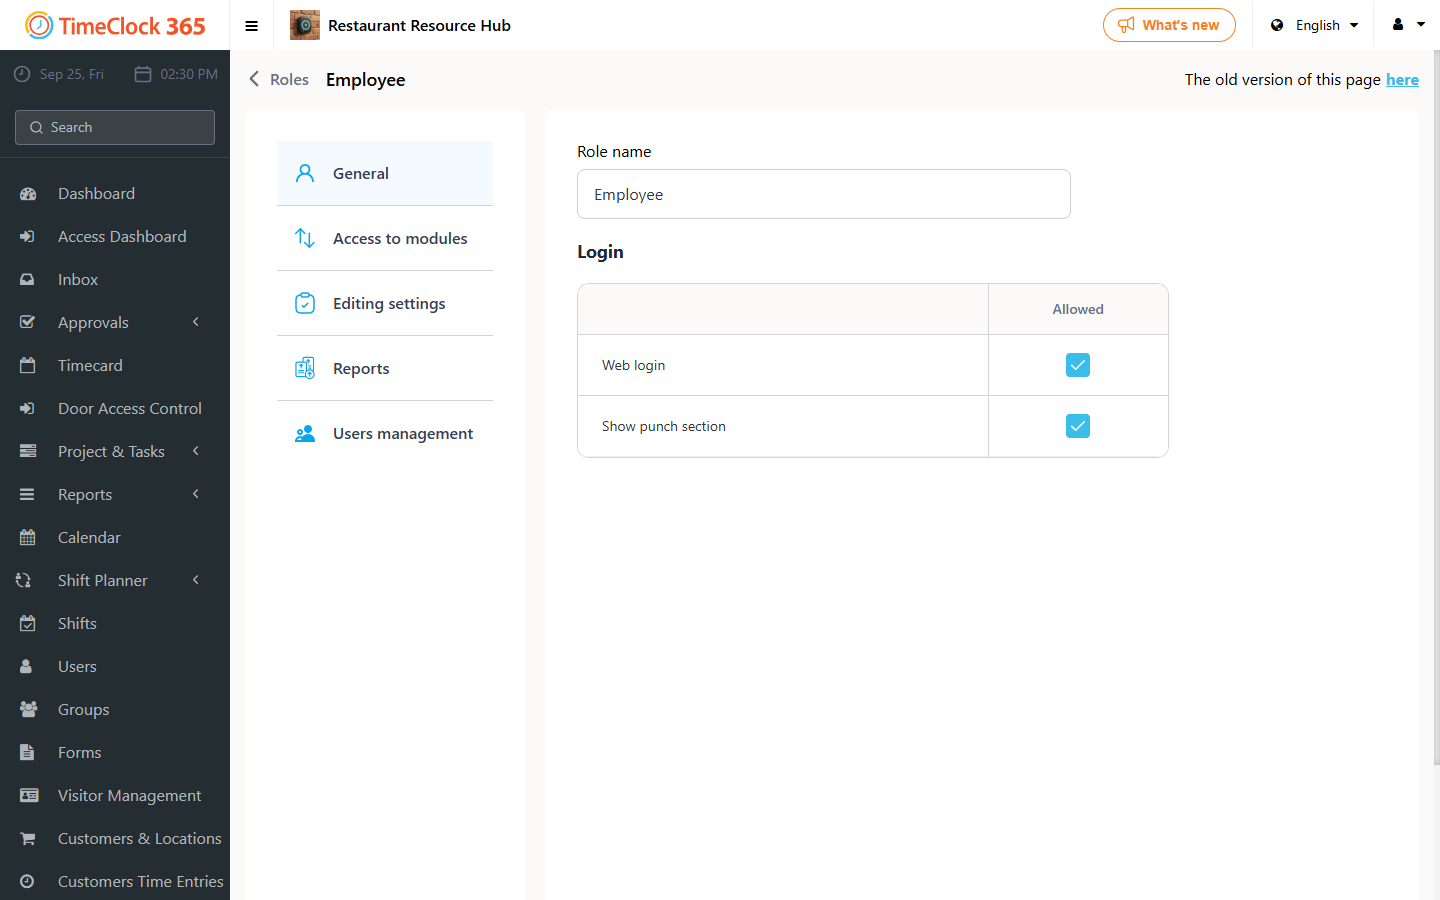
This guide explains how to manage roles in TimeClock 365, so you can give specific users access to specific parts of the system.
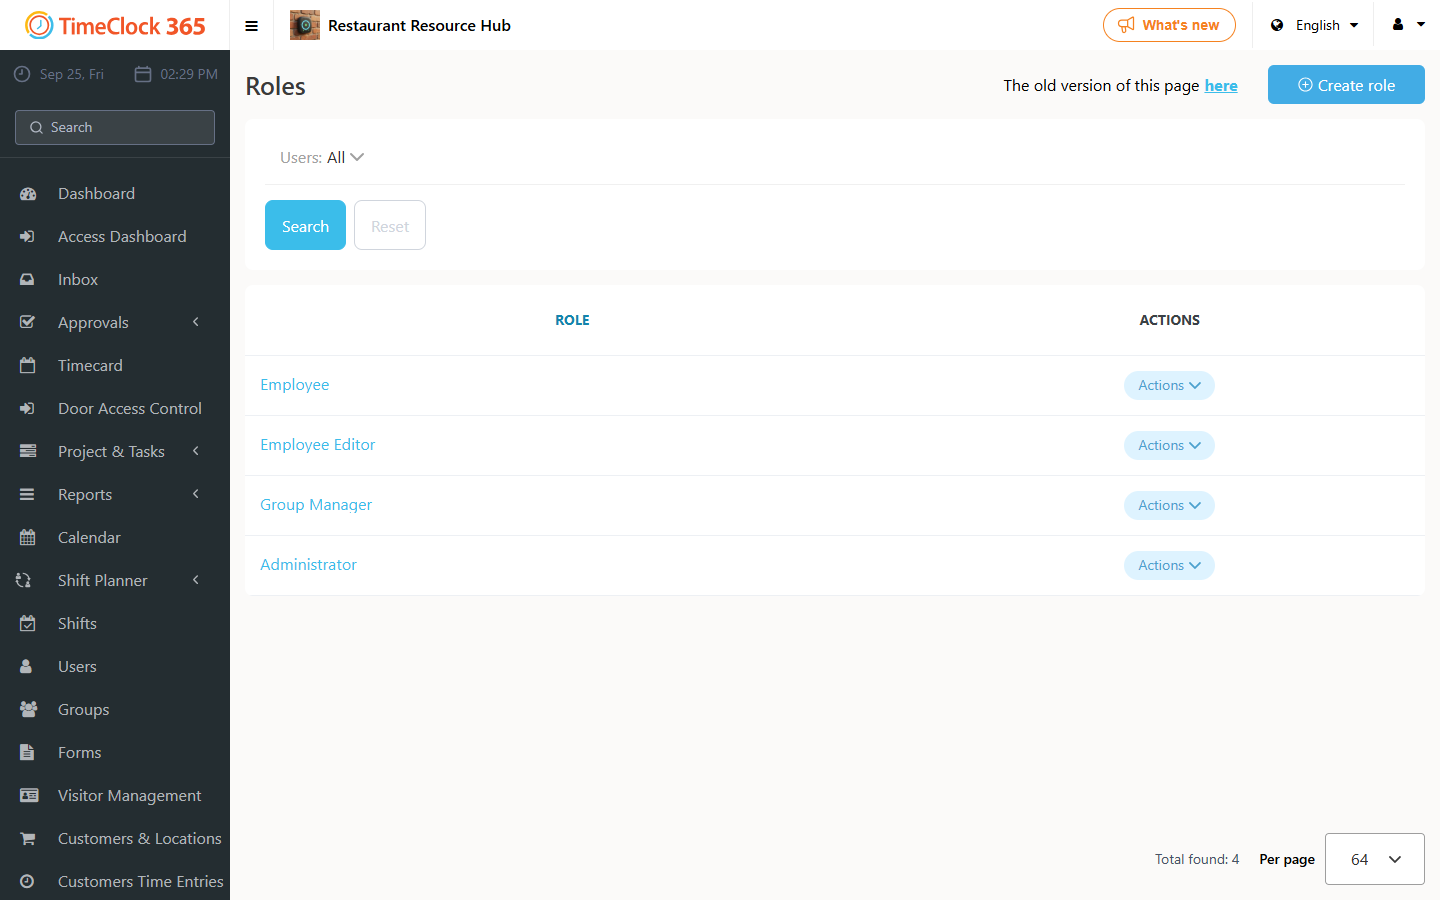
By default, the system includes 4 roles:
- Employee - clock in/out, no editing of hours.
- Employee editor - clock in/out, including editing of hours.
- Group manager - editing hours plus editing and approving reports for employees in their group.
- Administrator - access to system settings and to reports for all employees in the company.
Note: we recommend consulting with us before creating new roles or making special edits to existing ones. Incorrect changes to roles can block employees from areas they need, or grant access to areas they should not have. Also, after creating a new role, if you want the system Administrator to be able to assign it to employees, you need to go into the Administrator role and set it to also manage the new role.
These default roles already exist in the system, but if a role is missing:
- Go to Settings, then "Roles Management", then "Create role".
- Enter the role name from the options above, then click Save.
- Go into your own role (Manager or Administrator), and under "User Management" add the role you just created, then click Save.
- Go back into the role you created, and under "Users" select the employees you want to assign it to (you can also assign it from the employee's own card, under "Roles"). For each one, select the access options for that role: Employee, Employee editor, Group manager, or Administrator.